Once the keys are generated, we can now configure the line TTYs and VTYs to use SSH. Here is the excerpt of the config currently running in my Access-Server.
|
1 2 3 4 5 6 7 8 9 10 11 12 13 14 15 16 17 18 19 20 21 22 23 24 25 26 27 28 29 30 31 32 33 34 35 36 37 38 39 40 41 42 43 44 45 46 47 48 49 50 51 52 53 54 55 56 57 58 59 60 61 62 63 64 65 66 67 68 69 70 71 72 73 74 75 76 77 78 79 80 81 82 83 84 |
Access-Server#sh run Building configuration... Current configuration : 4879 bytes ! hostname Access-Server ! no logging console ! ip domain name rootcommand.com ! username admin privilege 15 secret 5 $*$****$*********.******.****. ! ip ssh time-out 60 ip ssh authentication-retries 5 ip ssh port 2033 rotary 1 32 ip ssh logging events ip ssh version 2 ! interface Loopback0 ip address 1.1.1.1 255.255.255.255 ! line 33 exec-timeout 0 0 login local rotary 1 no exec transport input ssh transport output none line 34 exec-timeout 0 0 login local rotary 2 no exec transport input ssh transport output none line 35 exec-timeout 0 0 login local rotary 3 no exec transport input ssh transport output none line 36 exec-timeout 0 0 login local rotary 4 no exec transport input ssh transport output none line 37 exec-timeout 0 0 login local rotary 5 no exec transport input ssh transport output none line 38 exec-timeout 0 0 login local rotary 6 no exec transport input ssh transport output none ! ! ! line 64 exec-timeout 0 0 login local rotary 32 no exec transport input ssh transport output none line vty 0 4 exec-timeout 0 0 login local transport input ssh line vty 5 15 exec-timeout 0 0 login local transport input ssh ! end |
Repeat the same line config up to from line 32 to line 64. Be sure to change the rotary group for each line number.
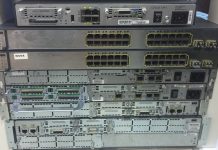
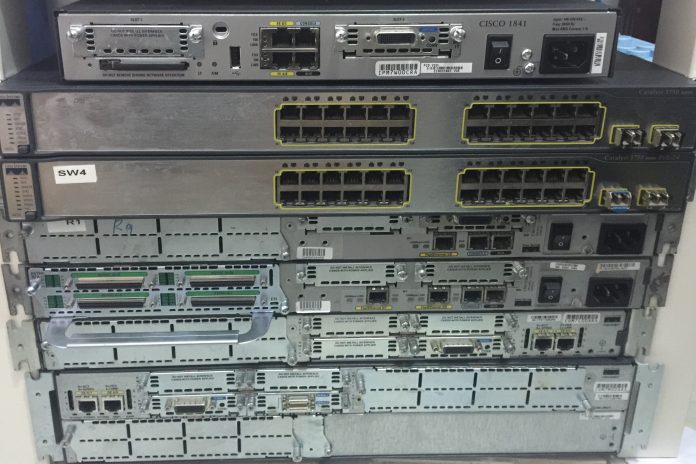
With the configuration above, all the 32 (33-64) TTY lines available from the NM-32A module are assigned a their own specific port. Using an octal cable, each of those lines would be directly connected to the console port of a Cisco device.
Here is my line mapping:
|
1 2 3 4 5 6 |
Line 33 - Port 2033 - R1-1841 Line 34 - Port 2034 - R2-2821 Line 35 - Port 2035 - R3-2811 Line 36 - Port 2036 - R4-2621XM Line 37 - Port 2037 - SW1-3750PoE Line 38 - Port 2038 - SW2-3750 |
Testing
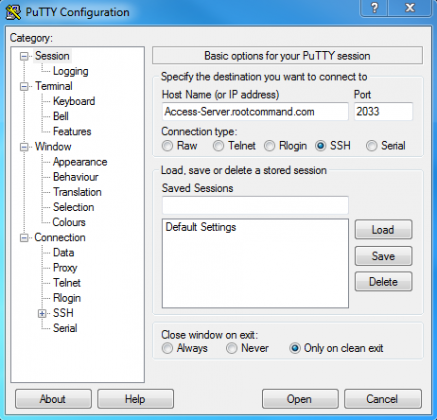
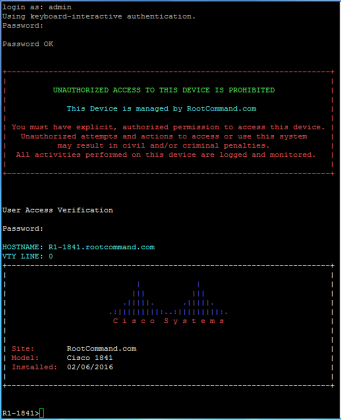
With this setup, I can now connect directly to my Cisco routers and switches by SSH’ing to the Access-Server using the port assigned to the line plugged-in to device I want to login to.
The connection would be as if you are connected to the device’s console physically. You can even reboot the device without being disconnected and watch as it runs through the boot sequence (from POST to login prompt).


